Saturday, March 26, 2022

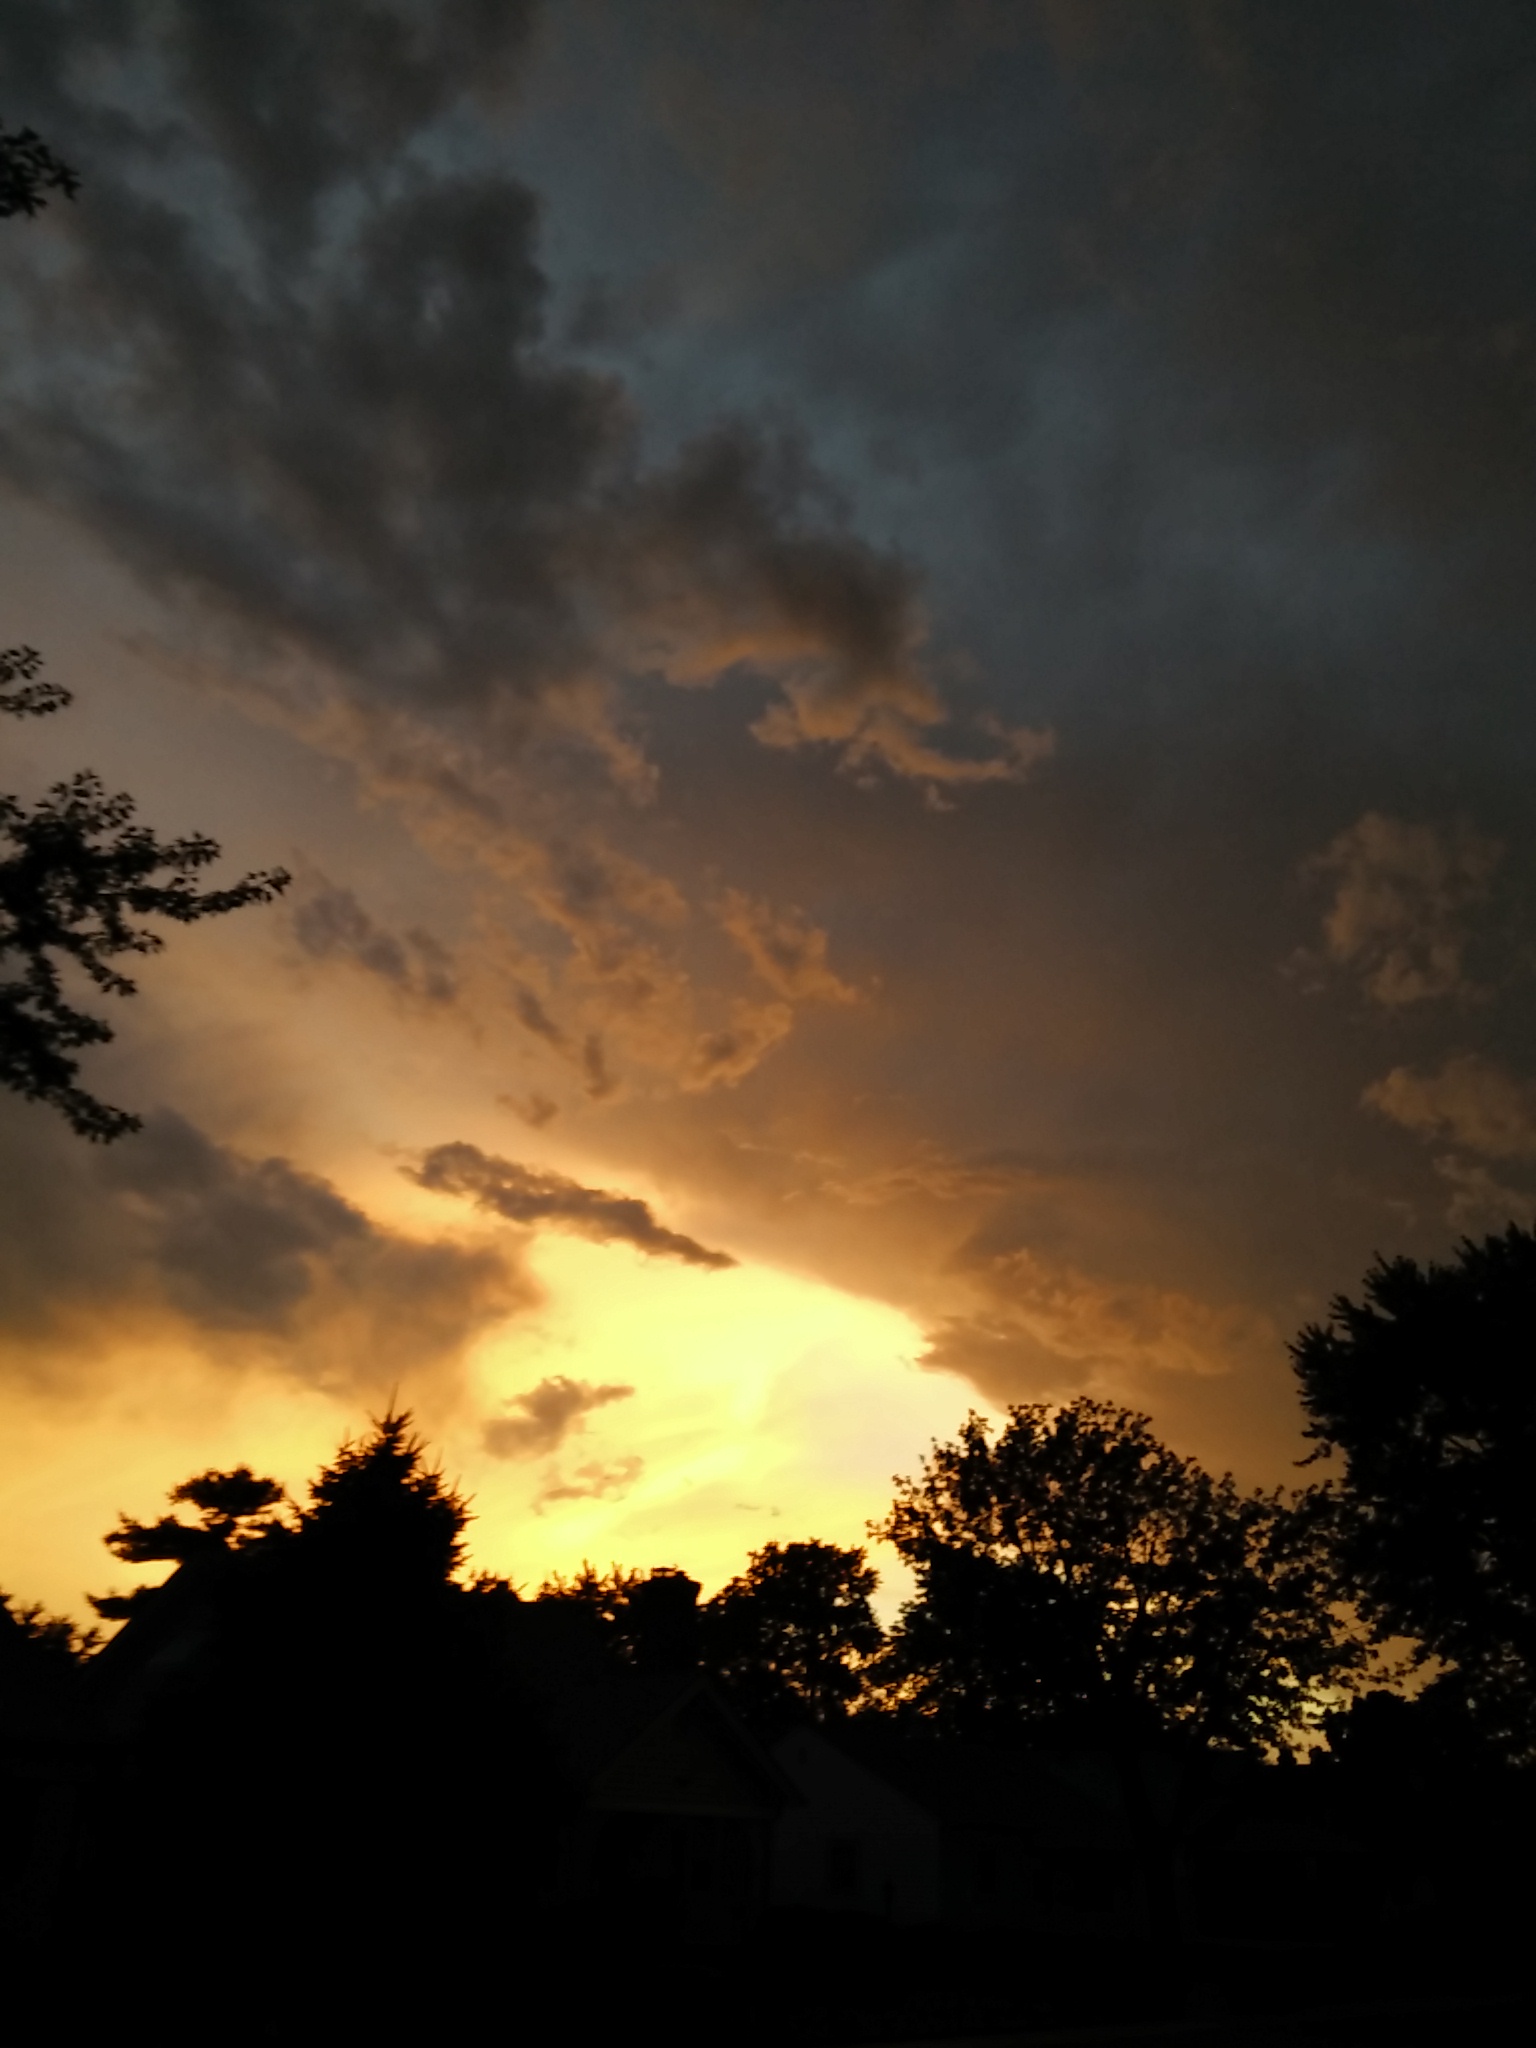
After the storm


I look to the hills,

But where will my help come from?

Not from the mountains

High and remote.

Not from the oceans

Cold and deep.

Not from the desert

Parched and barren.

Not from the storm

Bent on destruction.


I look to the sky

But where will my strength come from?

From God, who is above me.

From God, who is below me.

From God, who is within me.


Let the mountains of indifference despise me,

Let the oceans of hypocrisy wash over me,

Let the desert of hate burn me,

Let the storm of war destroy me.


God is my help and my strength forever.


Psalm 121, with a dash of Psalm 146 and my own musings.

Beth Webber 3-26-2022


Saturday, March 12, 2022

Nelly Lopez's BHD pattern, and some clothing for her


I found this adorable doll pattern on a Facebook Group callede Nutshell Lane Studio.  The doll pattern is free, on Nelly Lopez blog.  But I wantede to make her a wardrobe, and it is also free and I will post it here:


Nelly Lopez BHD pattern  links to the doll pattern.  You can use the hat pattern as a wig cap and make all sorts of hair styles.  This doll is Nelly Lopez design.


Outfits for Nelly Lopez BHD doll links to the above clothing.  The clothing are my own designs.


I made my Nelly Lopez dolls with Red Heart Super Saver and a size E crochet hook.  The clothing is made with Paintbox DK weight yarn and a D hook.  The clothing fits up over the feet of the doll and requires no closure, as I used the Foundation Single Crochet to begin each neckline.  This is a very stretchy stitch, and if you are not family with it, you can find many videos by doing a Google search.


My two girls, Onyx and Pearl


Overalls and bibbed jumper


Pinafore dresses


Basic dress, rompers, and sweater


Additional options to basic dress.


Nelly has a lot of other free doll designs on her blog, and outfits for the dolls.  Check it out, and enjoy the crochet!

Monday, February 28, 2022

Ukraine


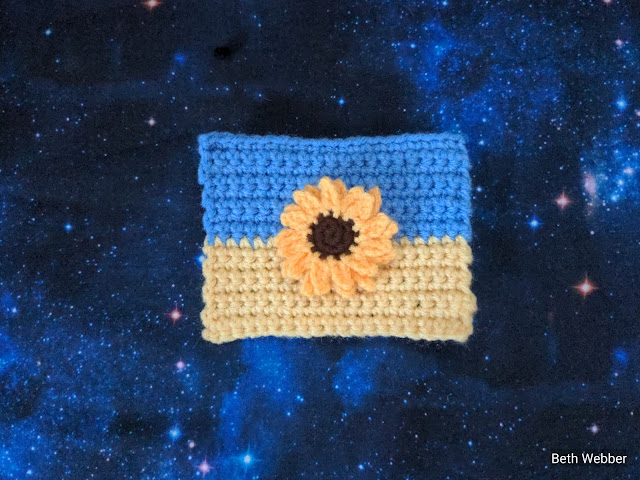
 To honor the people of Ukraine, I created a small crochet flag and sunflower.  Did you know that  Ukraine exports more sunflower seeds than any other country?


The free pattern is available at this link: Flag and Sunflower.


While you make this flag, and sunflower, say a prayer for the people of Ukraine.

Sunday, January 16, 2022

Be Still


Be Still

The stillness of the snow at night;

The stillness of the gentle rain.

The stillness of the owl in flight;

The stillness of a silent pain.


The stillness of the leaves that glide;

The stillness of the twilight moon.

The stillness of the tears that slide;

The stillness of the graveyard’s gloom.


The stillness of the morning glow;

The stillness of the path beyond.

The stillness of:  be still and know

That I am God.

Sunday, January 9, 2022

Earth Teach Me


Earth teach me Faith

As the sun also rises.


Earth teach me Hope

To meet a new tomorrow.

Earth teach me Love

As you’ve cradled us from birth to death.


Earth teach me Humility

In the face of all eternity.

Friday, December 24, 2021

In solitary silence, the weary world awaits


Holiday blessings to you and all you love.  May joy and beauty grace the new year.

Saturday, December 4, 2021

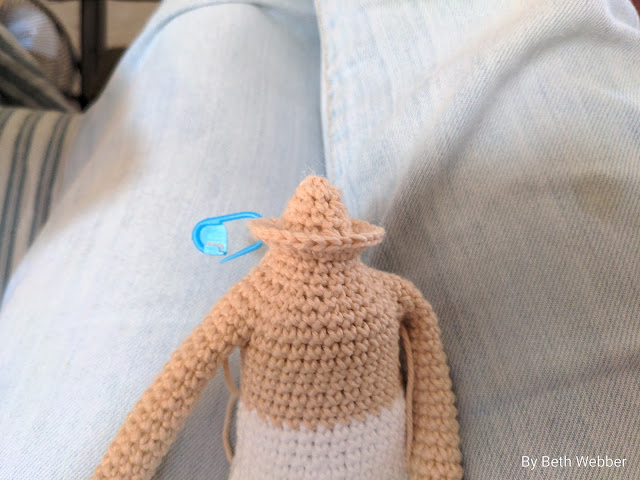
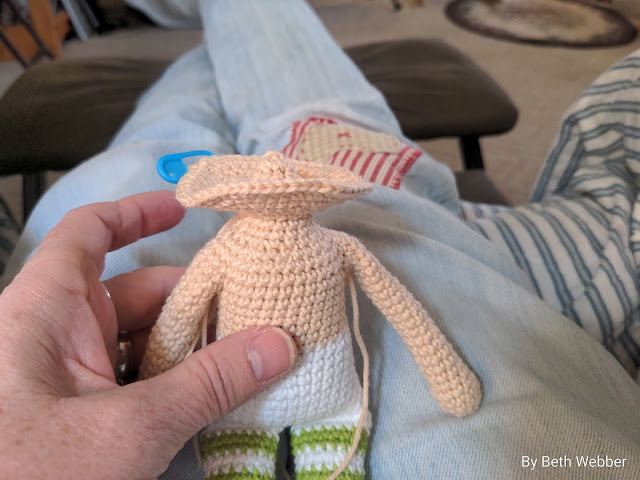
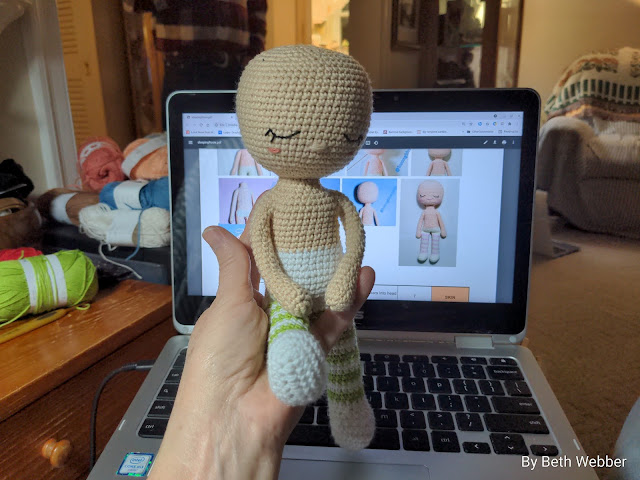
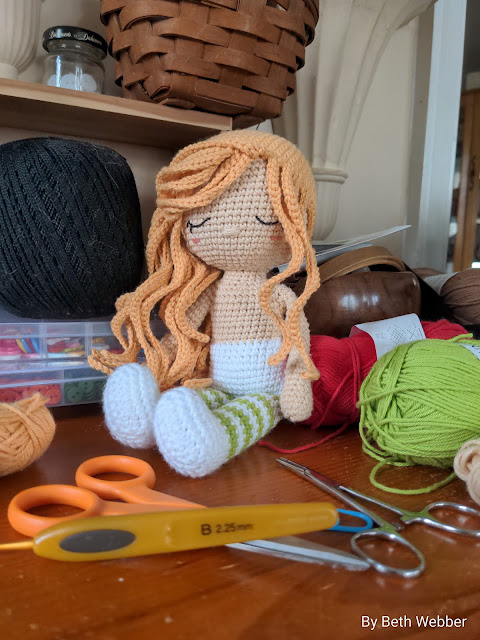
No Wobbly Heads!


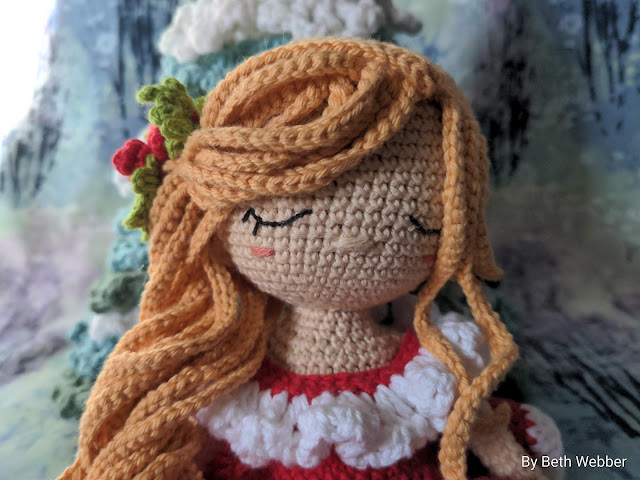
This beautiful doll is from the patterns of Huonghkvn2005, available on Etsy.  This doll was made from her Sleeping Rosie pattern.  


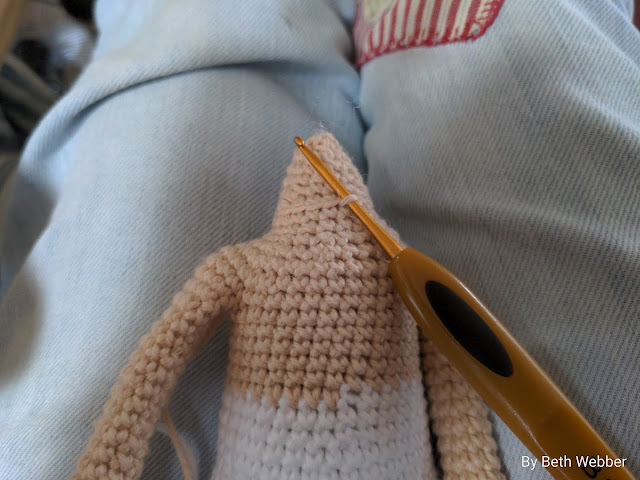
Instead of using wire to stabilize her head, I wanted her to be more child friendly, so the head is stabilized using a modified neck stub, then crocheting the head around the stub.  It is similar to a technique I've used in the past to make a move-able head, but this is simpler and sturdierl


This technique will work for any doll that is worked continuously from the feet to the head.  When you get to the final round at the neck, continue working in a decreasing cone, with the first round of this cone worked in the back loops, leaving front loops free to work the first round of the head.  I decreased this cone over five rounds.  Finish off.


Attach the yarn to the first unworked stitch at the neck, working the first round of the head as written, into the free loops left at the end of the neck row.


Continue to work the head as written.  You will now have a very stable neck and can stuff the doll head very firmly.  Even a head full of heavy hair will not be a problem.


Head stuffed firmly, and no wobbles!


And a beautiful head of hair.


Enjoy the crochet!

Wednesday, November 24, 2021

Mini Farm for Mini Kingdom


 I love tiny dolls, and I love cardboard, and I love what you can make for tiny dolls with cardboard!


These dolls are from the patterns Sunny Farm and Mini Kingdom by Olka Novytska.    I wanted them to have a barn, and eventually Sunnie will have a tiny home.  As a footnote, when my Grandfather bought his farm in 1938, he didn't care what shape the house was in...just how well built was the barn!


All you need to make this tiny barn is a small box, an empty cerial box, and a piece of sturdy cardboard for the roof and the back of the barn.  Tacky glue, a ruler, and a craft knife.  I painted my barn first with Gesso, which is a medium that strengthens the cardboard and also provides a nice surface for paint.  Red paint for the barn, brown for the barn flooor, and brown and green for the entry to the barn.  I used a craft knife to cut the cardboard.  Be careful  you don't slice off your finger!


With one of the flap sides of the box, turn up one end to form the roofline of the barn, and slice the side flaps in two to make Dutch doors.  The remaining flap is the barn entry.  Lay the front of the barn on the sturdy cardboard and trace around the side and roof (you want the door flaps closed when you do this).  Cut this piece out with craft knife and glue this piece to the back of the box (see the middle picture at the top). 


Cut out two supports from the cerial box to glue between the front and back of the barn roof.  This will not only stabilize the barn, but you will glue the roof to these supports.  You can see this in the middle and right side pictures at the top.  Let all of this dry.


Cut the roof from sturdy cardboard.  I was fortunate enough to have a piece of sturdy white cardboard to use for the roof.  Measure the total length and width you will need and cut a square, then find the midpoint and measure for the flat portion of the roof.  Score these lines with your craft knife to give you the Mansard roof look that this barn has.  If you have a front overhang of the roof, cut it back at an angle so your top Dutch door with swing freeely.


Paint the entire barn with Gesso and let it dry, then paint the barn whatever colors you like.  After all the paint was dry, I decorated the sides with buttons.


What took the longest was waiting for glue and paint to dry between  steps!


Sunday, November 7, 2021

Light of Moon and Sunset


 At the end of the street, along the railroad track.  The Moon and Venus dance in the sunset.


The colors of Fall paint the sky


And a beauty beyond our reach high above.


Look carefully; the moon is tangled in the branches of the trees.


By Moonlight and Starlight, may you walk in peace.