Showing posts with label crochet dolls. Show all posts

Friday, July 19, 2024

It has been a while...


Fireworks in the graveyard:  Liberty


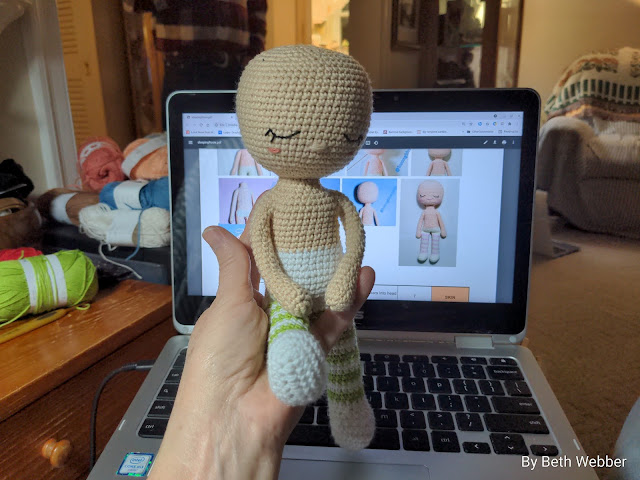
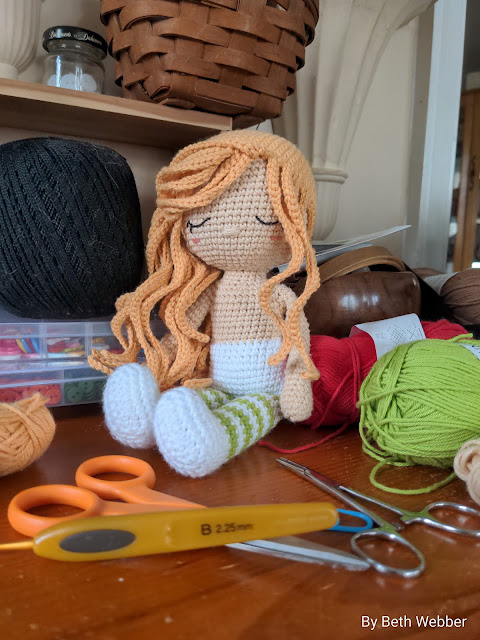
I guess it has been a while since I've posted!  Still making dolls, and the following dolls are variations on the Simple Doll pattern in the previous post.  Somehow I got on to a creepy-cute kick, and these started jumping off my hooks.  There is no separate pattern for them.  


For inspiration, I found a great Etsy seller of digital artwork:  Locker61;  purchased her zombie/voodoo/creepy digital art, and used it for inspiration.  Here is an example:


Digital artwork by Locker61


These make up fast.  If you have a cache of buttons, mix them up for the eyes.  To color the faces, I used colored pencils dipped in water.  You really cannot go wrong.


I sketched the backgrounds using a free online application:  Sketchbook.  I am no artist, but it was just plain fun to draw again, like I did as a kid.  I use this on an Android tablet computer.  


Here are a few more of my creepy friends:


Flora


Stone


Flora and Stone got their names from an Aldi's Merlot...


Wormwood


Rosewood


Crochet is amazing.  With a hook and string, you can create anything.  Enjoy!


Friday, August 25, 2023

Crochet Dolls by Carla Mitrani


The first of two doll-related posts.  The creations of Carla Mitrani, aka Amour Fou, are a delight to make, and I have been making them!  You can purchase her patterns in book form, as above, through Amazon, or buy individual patterns from her Etsy shop:  AmourFouCrochet


Here are a few of my makes from her easy to follow and delightful patterns:


Small Greta Thunberg and large Greta Thunberg.  Small made with DK weight cotton yarn and a C hook; large made with worsted weight yarn and an E hook.  Small is about 7 inches tall; large 8.5 inches.


Malala Yousafzai, Pasistani activist for women's education rights.  The pattern called for a cloth hijab, but I chose to make one in crochet.  It is simply a cap with along scarf end crocheted to the back and wrapped around the front.


A dressable doll I made from the basic doll pattern, and using elements from the Horoscope book and my own imagination.


And my absolute favorite, Vincent VanGogh.  Photo manipulated against one of his later paintings.  


I highly recommend all of Carla's patterns.  Enjoy the day, and enjoy the crochet!

Wednesday, May 24, 2023

Emma Revisited


 Revisiting the last doll pattern I designed, Emma.  She is worked in worsted weight yarn (I used Red Heart Super Saver in Buff) and has very simple jointed arms and legs.  


Going for more of a Waldorf feel, she has a wig cap made from mohair yarn, which is a bit hard to work with, but makes the most wonderful hair!


You can leave it long, pull it into a single braid, make pigtails or ponytails with it.


In this case, she has double braids.  Her dress and pinafore are adapted from Sandy Nordwall Eggers Spring Dress for Marci available on Ravelry.  I lengthend the dress, and worked the initial lace pattern on the pinafore for additional repeats to make it longer.  Both dress and pinafore are crocheted from Paintbox DK cotton yarn.


Her hat and boots are from the Emma patterns available on this blog.  

Monday, May 22, 2023

Back in business!!!


 After several months of being dead (my blog, not me...), I've resurrected my blog!  From the wasteland that Google left it in (by deleting the website that was hosting my patterns) it rises like a Phoenix to live again!


I've done my best to restore all the pattern links within each post and also the links along the left sidebar.  I may have missed one or two, but they should all work.

Saturday, September 3, 2022

Emma


I got a bee in my bonnet to make a doll with simple joints.  Joints at the elbows, wrist, knees, and ankles.  A doll that did not require lots and lots of stitches to make up.  A simple doll.  So here is Emma, crocheted with worsted weight yarn and a D hook.  Her clothing is sportweight yarn.  She is 11 inches tall and easy to dress.  Her wig cap is simple, and for more wig ideas, please see Sandy Nordwall Eggers pattern on Ravelry:  Cute Hair Styles for Dolls


Emma, A Simple Jointed Doll


Enjoy Emma, and enjoy the crochet!


Sunday, August 7, 2022

Revisiting Crochet Hitty and her clothing


 Having updated Joyce's crochet Hitty pattern, I thought an update on her wardrobe would be a good idea too.  Size 10 crochet cotton was a favorite medium of mine for making small doll clothing, but as my hands get a bit older, and my eyes a bit dimmer, manipulating and seeing the stitches has become less than fun.  And honestly, crochet has to be fun!


Above is an example of crochet Hitty's camisole and petticoat.  On the left, they are worked in DK weight cotton yarn; on the right, size 10 crochet cotton.  There is more detail and better drape with size 10 cotton, but I am happy with the way the DK cotton outfit turned out.  One thing that occured to me as I was making the DK weight outfit:  crochet the petticoat to the last round of the camisole, and reduce the bulkiness at the waistline!

Here are links to both of the patterns:


Camisole and Petticoat in size 10 crochet cotton


Camisole and Petticoat in DK weight cotton


Crochet Hitty also has a tee shirt and overalls in DK weight yarn:


And here is a link:


Overalls and Tee Shirt in DK weight cotton


Coming soon...a full skirted dress and apron pinafore in DK weight cotton.  And if you are wondering what DK weight cotton is, look for cotton yarn that is 50 grams (1.75 ounces) and 125-130m (135-140 yds).  Sportweight falls in this catagory as well.


Enjoy the crochet!

Friday, April 1, 2022

Circle of Love


A Circle of Love.  Tiny dolls that fit snuggly in the palm of your hand.  Someone to tell your hopes and fears to.  This circle of love was made with one skein of Red Heart Super Saver Retro Stripes and all the different Lionbrand Skein Tones yarns.  Twelve skin colors in all.


Doll Pattern by Nelly Lopez:  BHD doll pattern


For the wig caps, you can use the hat pattern that comes with Nelly's doll pattern, just work it to 36 stitches and check the fit, then work without increasing.  To embelish, you can use one of these two patterns to create all kinds of hair styles, or make up your own!

Wig Patterns:  Cute Hairstyles for Dolls, by Sandy Nordwarll Eggers.  Available on Ravelry.

Wig Patterns:  WeeBee Book of Hair, Volume 1 by Laura Tegg.  Avaliable on Etsy.


And if you want to dress your dolls   you can use my free outfit pattern.


Outfits for Nelly's BHD doll:  Outfits, by Beth Webber.


Have a lovely day, and enjoy the crochet!

Saturday, March 12, 2022

Nelly Lopez's BHD pattern, and some clothing for her


I found this adorable doll pattern on a Facebook Group callede Nutshell Lane Studio.  The doll pattern is free, on Nelly Lopez blog.  But I wantede to make her a wardrobe, and it is also free and I will post it here:


Nelly Lopez BHD pattern  links to the doll pattern.  You can use the hat pattern as a wig cap and make all sorts of hair styles.  This doll is Nelly Lopez design.


Outfits for Nelly Lopez BHD doll links to the above clothing.  The clothing are my own designs.


I made my Nelly Lopez dolls with Red Heart Super Saver and a size E crochet hook.  The clothing is made with Paintbox DK weight yarn and a D hook.  The clothing fits up over the feet of the doll and requires no closure, as I used the Foundation Single Crochet to begin each neckline.  This is a very stretchy stitch, and if you are not family with it, you can find many videos by doing a Google search.


My two girls, Onyx and Pearl


Overalls and bibbed jumper


Pinafore dresses


Basic dress, rompers, and sweater


Additional options to basic dress.


Nelly has a lot of other free doll designs on her blog, and outfits for the dolls.  Check it out, and enjoy the crochet!

Saturday, December 4, 2021

No Wobbly Heads!


This beautiful doll is from the patterns of Huonghkvn2005, available on Etsy.  This doll was made from her Sleeping Rosie pattern.  


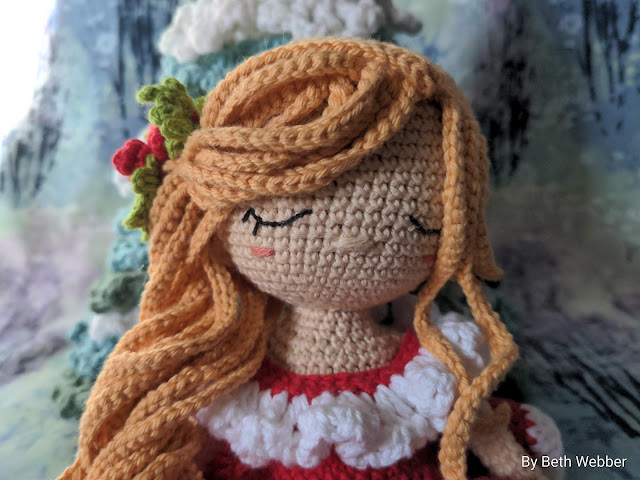
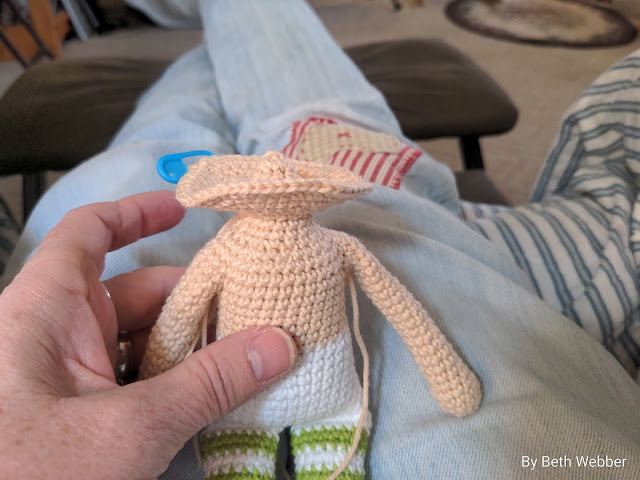
Instead of using wire to stabilize her head, I wanted her to be more child friendly, so the head is stabilized using a modified neck stub, then crocheting the head around the stub.  It is similar to a technique I've used in the past to make a move-able head, but this is simpler and sturdierl


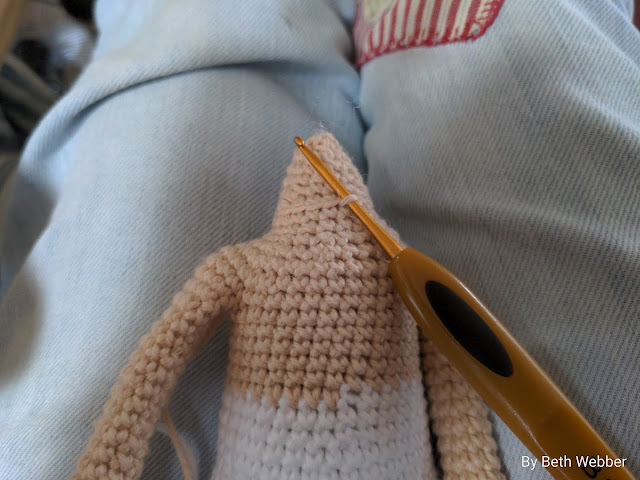
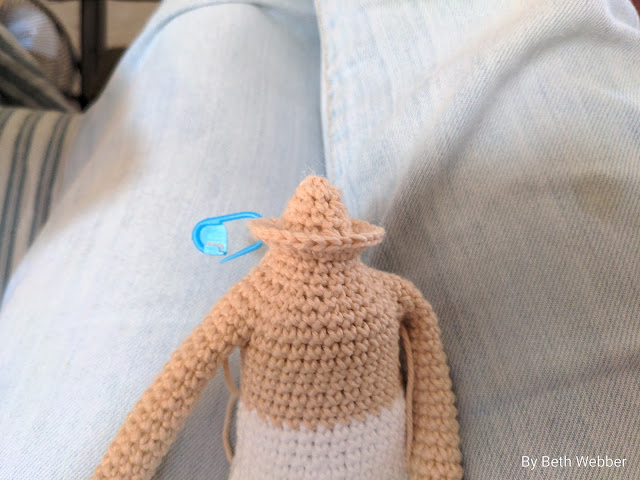
This technique will work for any doll that is worked continuously from the feet to the head.  When you get to the final round at the neck, continue working in a decreasing cone, with the first round of this cone worked in the back loops, leaving front loops free to work the first round of the head.  I decreased this cone over five rounds.  Finish off.


Attach the yarn to the first unworked stitch at the neck, working the first round of the head as written, into the free loops left at the end of the neck row.


Continue to work the head as written.  You will now have a very stable neck and can stuff the doll head very firmly.  Even a head full of heavy hair will not be a problem.


Head stuffed firmly, and no wobbles!


And a beautiful head of hair.


Enjoy the crochet!

Wednesday, November 24, 2021

Mini Farm for Mini Kingdom


 I love tiny dolls, and I love cardboard, and I love what you can make for tiny dolls with cardboard!


These dolls are from the patterns Sunny Farm and Mini Kingdom by Olka Novytska.    I wanted them to have a barn, and eventually Sunnie will have a tiny home.  As a footnote, when my Grandfather bought his farm in 1938, he didn't care what shape the house was in...just how well built was the barn!


All you need to make this tiny barn is a small box, an empty cerial box, and a piece of sturdy cardboard for the roof and the back of the barn.  Tacky glue, a ruler, and a craft knife.  I painted my barn first with Gesso, which is a medium that strengthens the cardboard and also provides a nice surface for paint.  Red paint for the barn, brown for the barn flooor, and brown and green for the entry to the barn.  I used a craft knife to cut the cardboard.  Be careful  you don't slice off your finger!


With one of the flap sides of the box, turn up one end to form the roofline of the barn, and slice the side flaps in two to make Dutch doors.  The remaining flap is the barn entry.  Lay the front of the barn on the sturdy cardboard and trace around the side and roof (you want the door flaps closed when you do this).  Cut this piece out with craft knife and glue this piece to the back of the box (see the middle picture at the top). 


Cut out two supports from the cerial box to glue between the front and back of the barn roof.  This will not only stabilize the barn, but you will glue the roof to these supports.  You can see this in the middle and right side pictures at the top.  Let all of this dry.


Cut the roof from sturdy cardboard.  I was fortunate enough to have a piece of sturdy white cardboard to use for the roof.  Measure the total length and width you will need and cut a square, then find the midpoint and measure for the flat portion of the roof.  Score these lines with your craft knife to give you the Mansard roof look that this barn has.  If you have a front overhang of the roof, cut it back at an angle so your top Dutch door with swing freeely.


Paint the entire barn with Gesso and let it dry, then paint the barn whatever colors you like.  After all the paint was dry, I decorated the sides with buttons.


What took the longest was waiting for glue and paint to dry between  steps!