Sunday, August 31, 2014

Dollmaking Details

I love making dolls, and I love sharing what I've learned over many years of dollmaking.  There have  been many generous dollmakers that have shared their special techniques and tips on making exceptional dolls:  Judi Ward, Gail Wilson, Fiona McDonald, and many others.

Many techniques used in cloth doll making work quite well with crochet and knit.  The jointed head technique used on my crochet dolls I learned from Judi Ward making her cloth Bleuette, which in turn inspired my crochet Bleuette.  Using a crochet wig cap to make wigs for dolls came from the Waldorf dollmaking community.   Painting eyes on felt for crochet and knit dolls from Fiona McDonald.

To knit or to crochet?  Both are wonderful dollmaking mediums.  A knitted doll is generally softer, cuddlier, and more rag-doll like than crochet.  Crochet produces a stiffer, more rigid fabric that holds it shape on its own better than knit.  Crochet stitches are more visible than knit stitches; crochet works up much faster (for me!) than knit.  I love them both, and love their differences.  After knitting dolls for almost a year, I'm back to crochet.  If you both knit and crochet, they will keep each other ever green :-)


 I have some tutorials and a pattern to share today.  First is a basic camisole to fit Isabelle Kessedjian's My Crochet Doll.  I use this design for all the dolls I make.  It is simple, easy to fit to the doll, and can be used as a basis for dresses, romper, and t-shirts. 

My Crochet Doll Camisole and Undies

 This pattern has options for making rompers or a dress:


I used a different technique for making the hair on these dolls, which is a hybrid of Isabelle's instructions and the wig making I ususually use.  For Simone, on the left, and for the last two dolls I've made, I used a laceweight/fingering weigh yarn to produce hair that is more, well, hairlike :-) This tutorial is in PDF format so you can download it:

Hair Making Tutorial


And finally, all of these dolls have a roving wrapped armature inside the legs/torso and arms.  Roving is carded and unspun wool available in long lengths or ropes, which make it a great choice to wrap the wire armature with.  It is also a lovely stuffing medium, something I learned from Gail Wilson's cloth dollmaking.  It flows into the doll body very easily, packs well but doesn't distort your stitches.  It warms in your hands, which is an endearing quality in any doll.

Roving wrapped armature tutorial

If you are unfamiliar with roving, here is a site where it can be purchased:

Undyed wool roving from Weir Crafts

These techniques can be used with either crochet or knit, your own or someone else's design.  Mix and match patterns and techniques and make the doll of your dreams :-)

Saturday, August 23, 2014

Procrastination 101


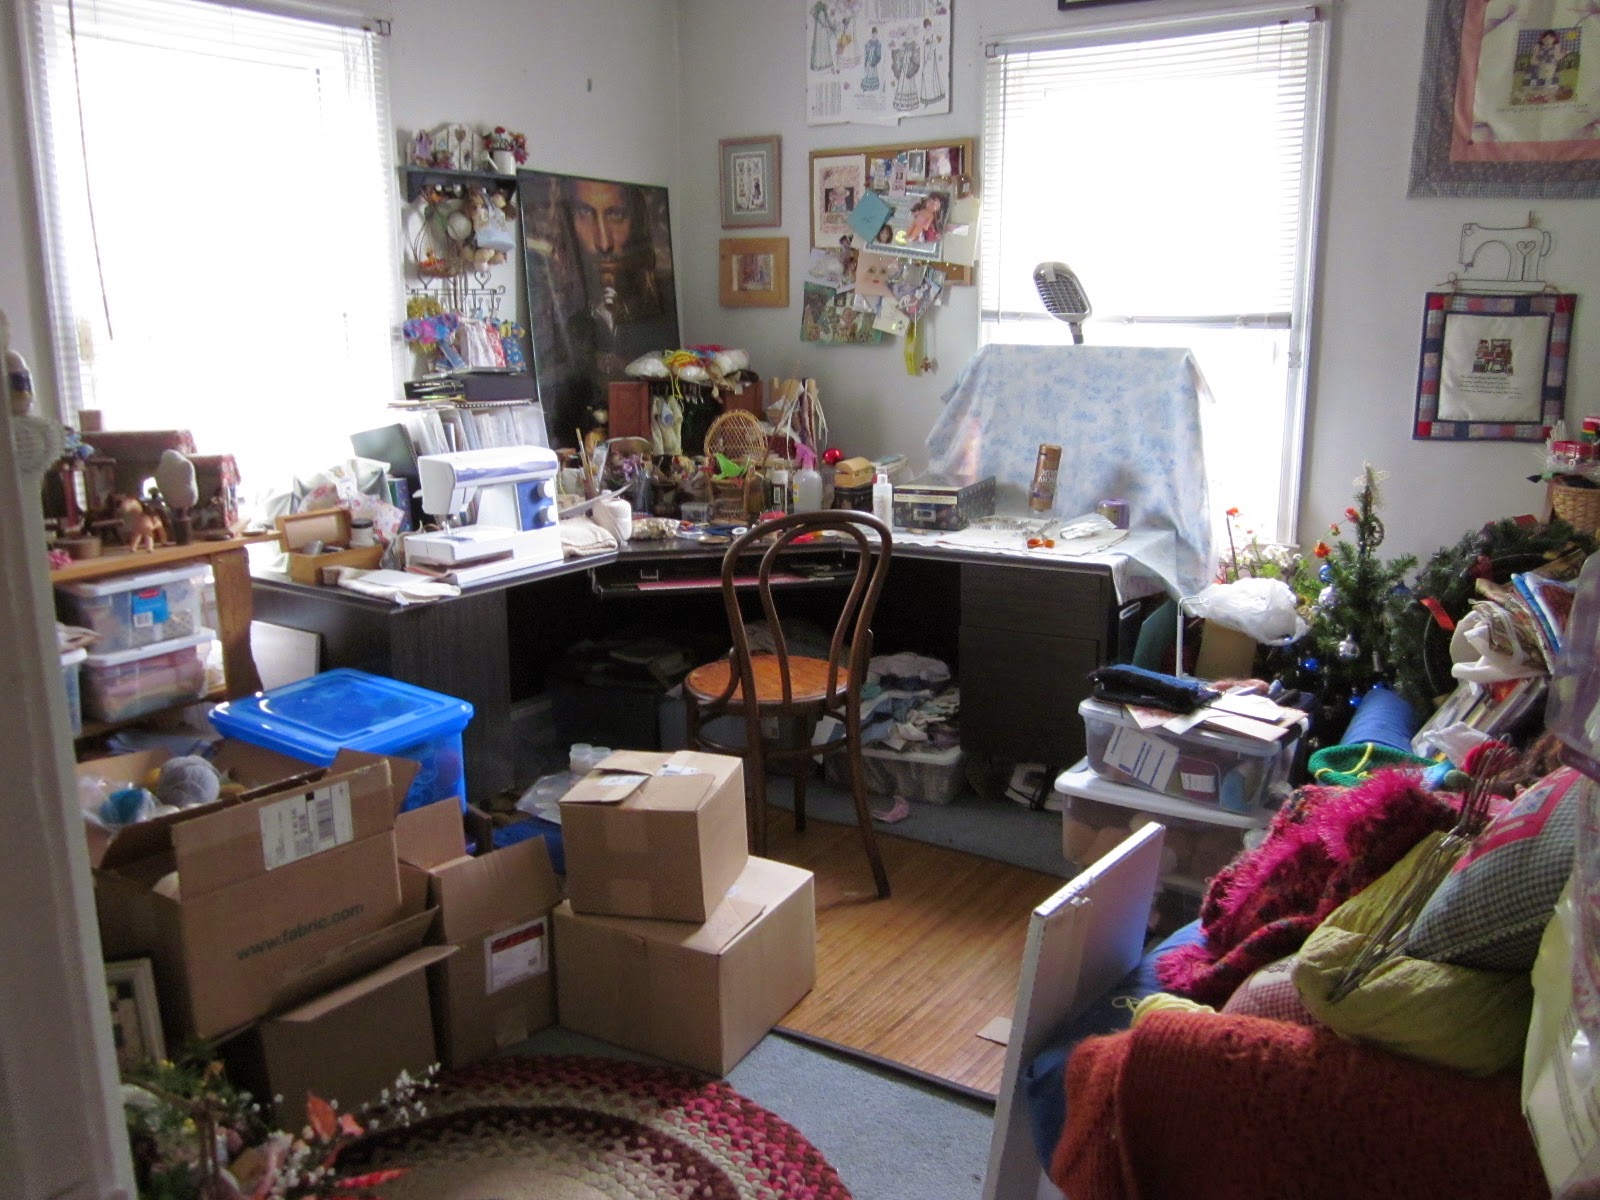
There comes a time when even the most dedicated procrastinator has to do something about the mess!  I was getting perilously close to not being able to reach my work table, as boxes continued to mount in the room.  Soooo.....


After two days of work!  This is about as good as it gets.  The yarn is now out of the shipping boxes and either onto shelves or in plastic containers, and I haven't seen  this much of the workroom floor in months :-)

An added benefit is that not only can I pretty much see where everything is, it is much more relaxing to work back here now.  Of course, I know this won't last for long....

Thursday, August 14, 2014

My Crochet Doll by Isabelle Kessedjian

This book by Isabelle Kessedjian is one that has been on my wish list for several months; last Thursday it finally arrived!  I love the simplicity and sweetness of this crochet doll :-)

The book is full of marvelous pictures and patterns for this delightful doll; she reminds me so much of the illustrations of Joan Walsh Anglund:

Illustrations of Joan Walsh Anglund, from the book  
The Golden Treasury of Poetry

I started and finished my first doll on Friday, then made her several wardrobe items over the weekend and into Monday.  

A back-to-school ensemble:

And a rainy day ensemble:

The sweet bunny pattern is from Fuzzy Mittens Wee Wuzzies pattern

If you wish to make this sweet girl for yourself (or some lucky child you know) here is some information that you may find helpful:

1.  The book is written using UK crochet terminology.  A 'double crochet' in this book refers to a 'single crochet' in US crochet terminology.  Isabelle provides a stitch glossary in the book, so read this before proceeding with any of the patterns.  The stitches are all very simple.

2.  The yarns used in the book are of French manufacture.  I googled the names to determine the weight/yardage of the yarns used, so that locally available substitutes could be found.  Here are the results:

    -For the doll, Bergere de France Ideal yarn is 1.75oz/137yds.  A DK/Sport weight yarn with several possible substitutions.  Patons Astra and Knit Picks Brava Sport are two.  I used Red Heart 3ply Sport since it was in my stash.  A doll made from Astra will be a bit smaller, but there are several lovely flesh tones available.

   -For many clothing articles, Bergere de France Coton 50 is 1.75oz/153yds.  Size 3 cotton thread and Lustersheen were very good substitutes for this.

   -Bergere de France Barisienne 1.75oz/153 yds, but this looks more like a wool/acrylic yarn than a cotton yarn, so fingering weight or light DK would work.

   -Bergere de France Lima 1.75oz/120 yds, light Worsted weight

   -Bergere de France Ecotan 1.75oz/130 yds, DK/Sport weight

   -Bergere de France Caline 1.75oz/196yds, Fingering weight

   -Bergere de France Toison 1.75oz/77yds, Chunky weight

3.  I crocheted the head all in one piece, changing to the hair color yarn and then working the 'scalp' backward.  If you want more hair color coverage at the back of the head, just work several straight stitches in your hair color at the back, like this:


4.  I took three rows out of the torso, and seven rows out of the arms.  I didn't want the arms quite as long as called for, but I think for my next doll I will shorten them by five rows instead.

5.  My doll has a move-able head, which is very easy to do with this pattern as the head is crocheted seperate from the body.  To make the head moveable, simply work the torso as written to the last row, then work one more decrease row to 12 stitches.  Work five or six more rows evenly on 12 stitches, and stuff this neck stub firmly.  Crochet is much firmer than knit, so you won't need to re-inforce the neck.  Finish the neck stub by decreasing around.  When working the head, begin with chain 13, work a single crochet in the second ch from the hook and each chain across (12 sc total), join, work two sc in each sc and then proceed with the pattern as written from round three.  This creates an opening at the bottom of the head for the neck stub to be inserted into.


 Joint the head to the neck as above with four strands of craft or buttonhole thread and a dollmaking needle.  There is a picture tutorial for this technique on  the blog under Tutorials.  Now you have a move-able head!


As with any doll and clothing, check the fit of your work to your doll, and change hooks or tension as needed.

I purchased my copy of the book from Amazon; you may also be able to check it out at your local library.  


 Enjoy the crochet!
  

Wednesday, August 6, 2014

Hazel Catdancer

She watches over small animals. She lives in places hexed and tainted by black magic. She can only be seen when the bees swarm and the crickets chirrup. She wears black feathers and rose petals and has multicoloured wings like a butterfly. 

 
On Moonless nights
When the wind is high
She shelters the small
From the Nighthawk's cry.

Fearless before
The darkening gloom
She dances on
The left side of Doom.

For the tiny and timid
Know her to be
Their Guardian, Protector,
Fearless and free.


 The little animal companions are from a pattern by Fuzzy Mittens, Wee Woodland Wuzzies.  You can purchase it on Ravelry.  There is also an Otter, Hedgehog, and Mouse :-)